Are you tired of frustrating WiFi dead zones in your home or office? It’s a common problem: your router is powerful, but the signal just can’t reach every corner, leaving you with slow or non-existent internet in the bedroom, basement, or backyard. This is where a TP-Link WiFi range extender becomes your best friend, effectively eliminating those dead spots and blanketing your entire space with a strong, stable connection.
As a network specialist with over 15 years of hands-on experience, I’ve installed and troubleshot hundreds of these devices. They are a simple, cost-effective solution to a pervasive problem. This comprehensive guide will walk you through everything you need to know, from choosing the right model to setting it up and optimizing its performance.
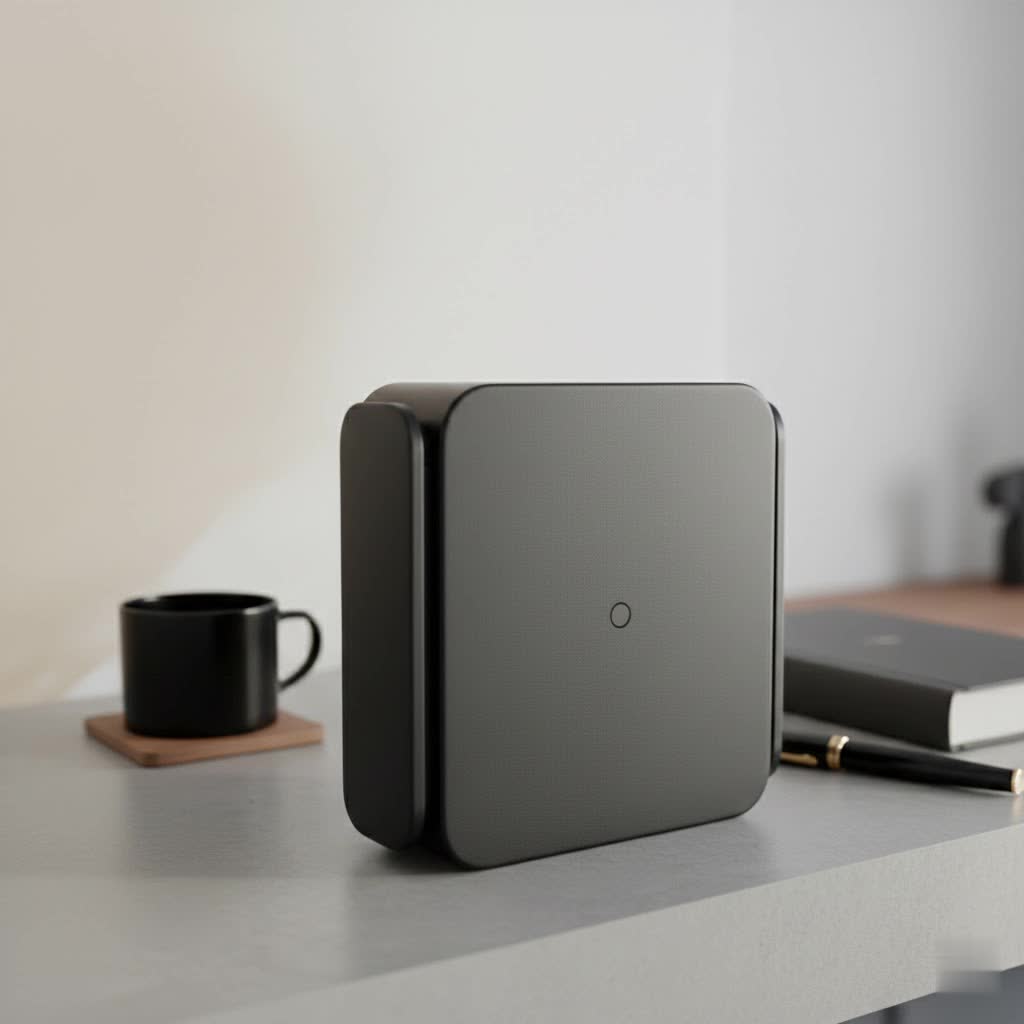
What Exactly is a WiFi Extender?
Before we dive into the specifics of TP-Link, let’s clarify what a WiFi range extender does. Think of it as a relay station for your wireless signal. It captures the existing WiFi signal from your main router and then rebroadcasts it to areas where the signal is weak or absent. It doesn’t create a new network; it simply extends the reach of your current one.
This is different from a mesh system, which replaces your router with multiple nodes that work together seamlessly under a single network name. An extender is a simpler, add-on solution perfect for targeting specific problem areas.
Why Choose a TP-Link WiFi Range Extender?
TP-Link is a dominant name in the networking world for good reason. Their extenders are known for:
- Ease of Use: TP-Link prioritizes a user-friendly experience, with multiple setup options that cater to both beginners and tech-savvy users.
- Reliable Performance: They consistently deliver stable connections and good speeds, helping you stream, game, and browse without interruption.
- Affordability: Compared to more complex solutions, TP-Link extenders offer excellent value for money.
- Variety: From discrete wall-plug models to more powerful desktop units, there’s an extender for every need and budget.
|
Our Picks for the Best Wifi Extender in 2026
As an Amazon Associate I earn from qualifying purchases.
|
||
| Num | Product | Action |
|---|---|---|
| 1 | WiFi Extender with 4 Antennas 1200Mbps - Dual Band 5GHz/2.4GHz, WiFi Extender Signal Booster with 3 Modes Support, WiFi Repeater with 12880 Sq.ft 105 Devices, Easy Set Up for Home |

|
| 2 | Amazon eero 6 mesh wifi extender with 1-month free eero Plus (auto-renews) - Add up to 1,500 sq. ft. of Wi-Fi 6 coverage to your existing eero mesh wifi network |
|
| 3 | WiFi Extender, WiFi Extenders Signal Booster for Home Up to 5000 sq.ft and 50 Devices, WiFi Range Extender, Wireless Repeater, Long Range Amplifier with Ethernet Port, 1-Tap Setup, Alexa Compatible |
|
| 4 | 2025 WiFi Extenders Signal Booster for Home Long Range Up to 9800 sq. ft & 40 Devices, WiFi Extender Signal Booster, Quick Setup-Medium, Internet Repeater, WiFi Extender |
|
| 5 | TP-Link AX3000 WiFi 6 Range Extender - PCMag Editor\'s Choice - Dual-Band Wireless Repeater w/Ethernet Port - Up to 2400 Sq. Ft., 64 Devices - Internet Signal Booster - APP Setup - EasyMesh (RE715X) |
|
| 6 | Amazon eero 7 with 1 month free eero Plus (auto-renews) - Supports internet plans up to 2.5 Gbps, Coverage up to 2,000 sq. ft., Connect 120+ devices, 1-pack |
|
| 7 | 2025 Fastest WiFi Extender, WiFi Repeater, WiFi Booster, Covers Up to 10000 Sq.ft and 80 Devices, Internet Booster - with Ethernet Port, Quick Setup, Home Wireless Signal Booster |
|
| 8 | Amazon eero 6+ mesh wifi system with 1 month free eero Plus (auto-renews) - Coverage up to 4,500 sq. ft., Connect 75+ devices, 3-pack |
|
| 9 | TP-Link AC1200 WiFi Extender, 2023 Engadget Best Budget Pick, 1.2Gbps Signal Booster for Home, Dual Band 5GHz/2.4GHz, Covers Up to 1500 Sq.ft and 30 Devices,Support Onemesh, One Ethernet Port (RE315) |
|
| 10 | TP-Link AC1900 WiFi Range Extender RE550 - Dual-Band Wireless Repeater Amplifier w/Gigabit Ethernet Port - Up to 2200 Sq. Ft., 32 Devices - Internet Signal Booster - APP Setup - EasyMesh Compatible |
|
Step-by-Step: How to Set Up Your TP-Link Extender
Getting your extender up and running is typically a straightforward process. TP-Link offers three primary methods: via the WPS button, the Tether app, or a web browser.
Method 1: The One-Touch WPS Setup (Easiest)
The Wi-Fi Protected Setup (WPS) method is the quickest way to get connected, requiring no passwords or software.
- Plug it in: Place the extender in an electrical outlet near your main router for the initial setup. Wait for the Power LED to turn solid.
- Press WPS on Router: Press the WPS button on your main router.
- Press WPS on Extender: Within two minutes, press the WPS button (often labeled with a lock icon or “RE” for Range Extender) on your TP-Link device.
- Wait for Connection: The signal LED on the extender should change from blinking to a solid color (usually blue or green), indicating a successful connection.
- Relocate for Optimal Performance: Unplug the extender and move it to a location approximately halfway between your router and the WiFi dead zone. The ideal spot is one where the extender still receives a strong signal from the router. Use the signal indicator lights on the extender to find the best placement.
Method 2: Using the TP-Link Tether App
The Tether app provides a guided setup process and makes managing your extender simple.
- Download the App: Get the TP-Link Tether app from the Google Play Store or Apple App Store.
- Plug in the Extender: Plug the extender into an outlet and wait for the Power LED to become solid.
- Connect to the Extender’s WiFi: On your phone, go to WiFi settings and connect to the network named “TP-Link_Extender”.
- Launch the App: Open the Tether app. It will automatically detect the extender.
- Follow On-Screen Instructions: The app will guide you through creating a login password for the extender, selecting your main router’s WiFi network, entering its password, and customizing the extended network’s name (SSID).
- Relocate: Once the setup is complete, move the extender to its optimal location as described in the WPS method.
Method 3: Using a Web Browser
This method offers the most control and is a reliable alternative if the other two methods fail.
- Plug In and Connect: Just like with the app method, plug in the extender and connect your computer or phone to its default WiFi network (“TP-Link_Extender”).
- Open a Browser: Launch any web browser (like Chrome, Firefox, or Safari).
- Navigate to the Setup Page: In the address bar, type
http://tplinkrepeater.netor192.168.0.254and press Enter. - Create a Password: You’ll be prompted to create a password for managing the extender.
- Scan for Networks: The setup wizard will scan for available WiFi networks. Select your main router’s 2.4GHz and 5GHz networks.
- Enter Passwords: Enter the password for your main router’s network(s).
- Confirm and Finish: Review your settings and wait for the extender to reboot and apply them.
- Relocate: Find the best spot for your newly configured extender.
Optimizing Your Extender’s Performance
Setup is just the first step. To get the most out of your TP-Link WiFi range extender, you need to optimize its placement and settings.
“The most common mistake users make is placing the extender in the dead zone itself,” notes David Chen, a network solutions architect. “An extender can’t boost a signal it can’t receive. The key is to place it where the router’s signal is still reasonably strong, allowing it to create a solid bridge to the weak areas.”
Tips for Peak Performance:
- Find the Sweet Spot: Use the Intelligent Signal Light on your extender. A solid blue or green light means you have a good connection to the router. An orange or red light means it’s too far away.
- Avoid Obstructions: Place the extender in an open area, away from thick concrete walls, metal objects, and appliances like microwaves or cordless phones, which can interfere with the signal.
- Update Firmware: Regularly check for firmware updates through the Tether app or the web management page. Updates often include performance improvements and security patches.
- Use the Right Band: If you have a dual-band extender, use the 5GHz band for demanding activities like 4K streaming and online gaming, as it’s typically faster and less congested. Use the 2.4GHz band for general browsing and devices that are farther away.
- Enable High-Speed Mode: Some TP-Link models offer a High-Speed Mode. This dedicates one band for communication with the router and the other for communication with your devices, which can significantly boost performance.
Common Problems and How to Fix Them
Even with the best setup, you might occasionally run into issues. Here’s a quick troubleshooting guide.
Issue: Extender Won’t Connect to the Router
- Solution: Double-check that you entered the correct WiFi password. Passwords are case-sensitive. Move the extender closer to the router during the initial setup process. A factory reset (holding the reset button for 10 seconds) can also resolve persistent connection problems.
Issue: Slow Internet Speeds
- Solution: This is often a placement issue. The extender might be too far from the router. Relocate it to a better spot. Also, check for firmware updates and ensure you are not connected to a congested WiFi channel.
Issue: The Extended Network Keeps Disconnecting
- Solution: This can be caused by signal interference. Try changing the WiFi channel on your main router. Also, ensure the extender is not overheating by placing it in a well-ventilated area.
Frequently Asked Questions (FAQ)
Q: Will a TP-Link extender work with any brand of router?
A: Yes, TP-Link WiFi range extenders are universally compatible and will work with any standard WiFi router or gateway, regardless of the brand.
Q: Does a WiFi extender create a new network name (SSID)?
A: By default, it usually creates a new network name, often by adding “_EXT” to your existing SSID. However, many newer TP-Link models support OneMesh™, which allows you to create a seamless mesh network with a single WiFi name if you have a compatible TP-Link router. You can also manually set the SSID to be the same as your router’s.
Q: Can I use two WiFi extenders at the same time?
A: Yes, you can, but it is generally not recommended to “daisy-chain” them (connecting one extender to another). This can significantly reduce your speed. If you need to cover a very large area, a mesh WiFi system is a much better solution.
Q: Does a WiFi extender slow down my internet?
A: Technically, yes. All range extenders introduce some latency because they have to receive and then rebroadcast the signal, which effectively halves the potential bandwidth. However, for most users, having a stable, albeit slightly slower, connection in a dead zone is far better than having no connection at all.
Q: What is the difference between a WiFi extender, booster, and repeater?
A: These terms are often used interchangeably to describe the same device. They all refer to a piece of hardware that takes an existing WiFi signal and rebroadcasts it to extend its coverage area.
Final Thoughts
A TP-Link WiFi range extender is a powerful and accessible tool for conquering WiFi dead zones. By understanding how it works and following the proper setup and placement guidelines, you can dramatically improve your wireless coverage and enjoy a seamless internet experience throughout your home. Don’t let poor signal strength dictate where you can and can’t go online. Take control of your network, eliminate those frustrating dead spots, and unlock the full potential of your internet connection.