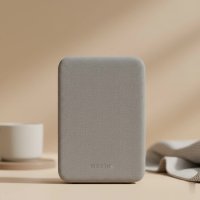
Are you tired of WiFi dead zones in your home? It’s a common frustration: you have a strong internet connection, but the signal just won’t reach your back bedroom, basement, or backyard. This is where a TP-Link WiFi extender comes in, acting as a bridge to carry your wireless signal further. With over 15 years of experience designing and troubleshooting home networks, I’ve seen countless products, and TP-Link consistently offers a reliable and user-friendly solution for eliminating those frustrating dead spots for good.
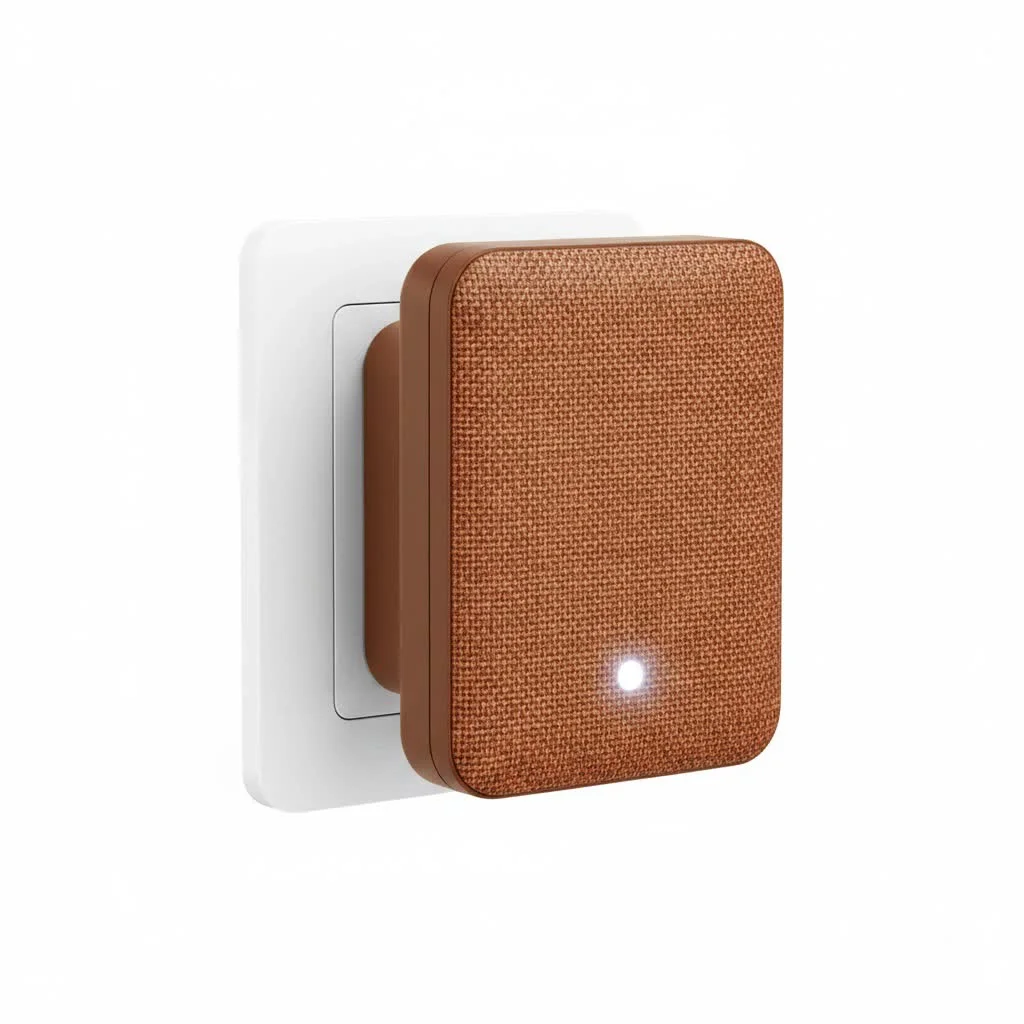
This guide will walk you through everything you need to know, from how these clever devices work to setting one up in minutes and picking the perfect model for your home.
What is a TP-Link WiFi Extender and How Does It Work?
Think of your WiFi router as a speaker. The further you move away from it, the fainter the sound becomes. A TP-Link WiFi extender works like a signal booster or a relay station. It picks up the existing wireless signal from your main router, amplifies it, and then rebroadcasts it to areas where the signal is weak or non-existent.
This process effectively creates a larger, more robust WiFi coverage area. The extender connects wirelessly to your router, so you don’t need to run any extra cables through your house. You simply place it in a location where it can still receive a decent signal from the router, and it will push that signal out to your hard-to-reach devices.
Why Choose a TP-Link WiFi Extender?
While many brands offer extenders, TP-Link has carved out a reputation for balancing performance, ease of use, and affordability.
Advantages:
- Ease of Setup: TP-Link is renowned for its straightforward installation process. Using the WPS button or the intuitive Tether app, most users can get their extender up and running in under five minutes.
- Affordability: Compared to upgrading your router or installing a complex mesh system, a TP-Link extender is a highly cost-effective way to improve your WiFi coverage.
- Feature-Rich: Many models come with useful features like a Gigabit Ethernet port to connect a wired device (like a smart TV or game console), High-Speed Mode to optimize performance, and OneMesh compatibility, which allows you to create a seamless network with a compatible TP-Link router.
- Variety of Models: Whether you need a simple plug-in unit for a small apartment or a powerful desktop extender for a large house, TP-Link has a model to fit your needs and budget.
Disadvantages:
|
Our Picks for the Best Wifi Extender in 2026
As an Amazon Associate I earn from qualifying purchases.
|
||
| Num | Product | Action |
|---|---|---|
| 1 | WiFi Extender with 4 Antennas 1200Mbps - Dual Band 5GHz/2.4GHz, WiFi Extender Signal Booster with 3 Modes Support, WiFi Repeater with 12880 Sq.ft 105 Devices, Easy Set Up for Home |

|
| 2 | TP-Link AC1900 WiFi Range Extender RE550 - Dual-Band Wireless Repeater Amplifier w/Gigabit Ethernet Port - Up to 2200 Sq. Ft., 32 Devices - Internet Signal Booster - APP Setup - EasyMesh Compatible |
|
| 3 | TP-Link AX3000 WiFi 6 Range Extender - PCMag Editor\'s Choice - Dual-Band Wireless Repeater w/Ethernet Port - Up to 2400 Sq. Ft., 64 Devices - Internet Signal Booster - APP Setup - EasyMesh (RE715X) |
|
| 4 | 2025 Fastest WiFi Extender, WiFi Repeater, WiFi Booster, Covers Up to 10000 Sq.ft and 80 Devices, Internet Booster - with Ethernet Port, Quick Setup, Home Wireless Signal Booster |
|
| 5 | Amazon eero 6+ mesh wifi system with 1 month free eero Plus (auto-renews) - Coverage up to 4,500 sq. ft., Connect 75+ devices, 3-pack |
|
| 6 | WiFi Extender, WiFi Extenders Signal Booster for Home Up to 5000 sq.ft and 50 Devices, WiFi Range Extender, Wireless Repeater, Long Range Amplifier with Ethernet Port, 1-Tap Setup, Alexa Compatible |
|
| 7 | TP-Link AC1200 WiFi Extender, 2023 Engadget Best Budget Pick, 1.2Gbps Signal Booster for Home, Dual Band 5GHz/2.4GHz, Covers Up to 1500 Sq.ft and 30 Devices,Support Onemesh, One Ethernet Port (RE315) |
|
| 8 | 2025 WiFi Extenders Signal Booster for Home Long Range Up to 9800 sq. ft & 40 Devices, WiFi Extender Signal Booster, Quick Setup-Medium, Internet Repeater, WiFi Extender |
|
| 9 | Amazon eero 6 mesh wifi extender with 1-month free eero Plus (auto-renews) - Add up to 1,500 sq. ft. of Wi-Fi 6 coverage to your existing eero mesh wifi network |
|
| 10 | Amazon eero 7 with 1 month free eero Plus (auto-renews) - Supports internet plans up to 2.5 Gbps, Coverage up to 2,000 sq. ft., Connect 120+ devices, 1-pack |
|
- Potential Speed Reduction: Because an extender communicates with the router on the same band it uses to communicate with your devices, it can effectively halve the available bandwidth. This is a limitation of most extenders, not just TP-Link, but it’s something to be aware of.
- Separate Network (Sometimes): By default, an extender creates a new network name (SSID), often with “_EXT” added to the end. This means you may need to manually switch between your router’s network and the extender’s network as you move around your home. However, many newer TP-Link models with OneMesh technology solve this by creating a single, unified network.
How to Set Up Your TP-Link WiFi Extender: A Step-by-Step Guide
Getting your new extender online is incredibly simple. TP-Link offers three primary methods for setup. For this guide, let’s assume you’ve just unboxed your device.
First Step: Placement
Plug the extender into a power outlet roughly halfway between your router and the WiFi dead zone. The ideal spot is one where the extender’s signal light indicates a solid connection to the router.
Method 1: The WPS Button (Easiest)
This is the quickest method if your router supports WPS (Wi-Fi Protected Setup).
- Press the WPS button on your main router.
- Within two minutes, press the WPS (or RE – Range Extender) button on your TP-Link extender.
- The light on the extender will blink and then turn solid, usually blue, indicating a successful connection.
- If you have a dual-band router, you may need to repeat the process to connect the second band (e.g., 5GHz).
Method 2: The TP-Link Tether App
The Tether app provides a user-friendly interface to manage your network from your smartphone.
- Download the TP-Link Tether app from the Apple App Store or Google Play Store.
- Connect your phone to the extender’s default WiFi network (e.g., “TP-Link_Extender”).
- Open the Tether app. It will automatically detect the extender.
- Follow the on-screen instructions to create a login password, select your main router’s WiFi network, enter its password, and customize the extender’s network settings.
Method 3: The Web Browser
This is a reliable alternative if the other methods don’t work.
- Connect a computer or phone to the extender’s default WiFi network.
- Open a web browser and navigate to
http://tplinkrepeater.netorhttp://192.168.0.254. - Create a password for the management page.
- Follow the setup wizard to scan for and connect to your main router’s network.
“The beauty of modern extenders, especially those from TP-Link, is their focus on user experience. The ‘plug-and-play’ nature of WPS setup has removed the technical barriers that once intimidated average users,” notes David Chen, a seasoned network engineer.
Tips for Optimizing Your Extender’s Performance
Once you’re set up, a few tweaks can ensure you’re getting the best possible performance.
- Optimal Placement is Key: Use the intelligent signal light on the extender. A solid blue light typically means the connection to the router is strong. A red light means it’s too far away. Experiment with different outlets to find the sweet spot.
- Update Your Firmware: Periodically check for firmware updates through the Tether app or the web interface. These updates often include performance improvements and security patches.
- Avoid Obstructions: Place the extender in an open area, away from thick concrete walls, metal objects, and appliances like microwave ovens that can interfere with the signal.
- Use the Ethernet Port: If your extender has an Ethernet port, use it to connect stationary, high-demand devices like gaming consoles or streaming boxes. This provides a more stable connection than WiFi.
Common TP-Link WiFi Extender Problems and How to Fix Them
Even with the best technology, you might run into a hiccup. Here are some common issues and their solutions.
Why is my extender not connecting to the router?
This is often a password or distance issue. Double-check that you entered the correct WiFi password for your main router. If that’s correct, try moving the extender closer to the router for the initial setup. Once connected, you can move it back to its desired location.
Why is the internet slow when connected to the extender?
This could be due to a poor connection between the extender and the router. Check the signal light on the extender; if it’s red or weak, move the extender closer to the router. Also, remember that extenders inherently reduce speed, so don’t expect to get the same speeds you do when standing next to your main router.
What should I do if I can’t access the web management page?
Ensure your device is connected to the extender’s network, not your main router’s network. Also, try clearing your browser cache or using a different browser. If all else fails, a factory reset is a reliable option. To do this, find the small reset button on the extender, and press and hold it with a paperclip for about 10 seconds until the lights flash.
Our Top Picks: The Best TP-Link WiFi Extenders on the Market
TP-Link offers a range of models, but a few stand out for their performance and value.
| Model | Key Feature | Best For |
|---|---|---|
| TP-Link RE705X (AX3000) | Wi-Fi 6 Speed | Homes with a Wi-Fi 6 router looking for top-tier performance and future-proofing. |
| TP-Link RE550 (AC1900) | Excellent Balance | Most households that need a reliable, fast, and affordable solution for streaming and browsing. |
| TP-Link RE315 (AC1200) | Budget-Friendly | Smaller homes or apartments needing to cover one or two dead zones without breaking the bank. |
The RE705X is a powerhouse, offering the latest Wi-Fi 6 technology for faster speeds and better efficiency, making it ideal for homes with many connected devices. The RE550 hits the sweet spot of price and performance, providing excellent AC1900 speeds that are more than enough for 4K streaming and online gaming. For those on a budget, the RE315 is a compact and effective choice that gets the job done reliably.
Frequently Asked Questions (FAQ)
Q: Will a TP-Link extender work with any router?
A: Yes, TP-Link WiFi extenders are designed to be universally compatible with any standard WiFi router, regardless of the brand.
Q: Can I use two TP-Link extenders at the same time?
A: You can, but it’s generally not recommended. Chaining extenders (connecting one extender to another) will significantly degrade performance. If you have a very large area to cover, a mesh WiFi system is a much better solution.
Q: Does an extender slow down my WiFi?
A: Technically, yes. A traditional extender must receive and then retransmit data, which reduces its maximum throughput. However, the boosted signal in a previously dead zone will still be much faster and more stable than the weak signal you had before.
Q: What is TP-Link OneMesh?
A: OneMesh is a feature that allows you to create a seamless mesh network using a compatible TP-Link router and a OneMesh-compatible extender. This means you have one network name (SSID) throughout your home, and your devices will automatically switch to the strongest signal as you move around without interruption.
Q: Should I get a WiFi extender or a mesh system?
A: If you have one or two specific dead zones in an otherwise well-covered home, a TP-Link WiFi extender is a perfect and affordable solution. If you have widespread, inconsistent coverage across a large or multi-story home, a mesh WiFi system will provide a more comprehensive and seamless experience.
Conclusion
A TP-Link WiFi extender is an excellent tool for anyone looking to eliminate WiFi dead zones simply and affordably. By understanding how they work, choosing the right location, and selecting the right model for your needs, you can blanket your entire home with a strong, reliable wireless signal. Say goodbye to buffering videos and dropped connections, and enjoy seamless internet access in every room. Take back control of your home network and experience the freedom of whole-home connectivity.
Get our weekly buyer guide
Practical specs, not advice. Unsubscribe anytime.