You’ve set up your Starlink dish, and you’re enjoying blazing-fast satellite internet, a true game-changer for anyone in a rural or underserved area. But then you walk to the other side of your house, and the signal drops. The futuristic dream of seamless, high-speed internet suddenly hits a very traditional wall—literally. If this sounds familiar, you’re likely searching for a wifi extender for Starlink to eliminate those frustrating dead zones. The good news is that extending your Starlink network is not only possible but also straightforward with the right knowledge.
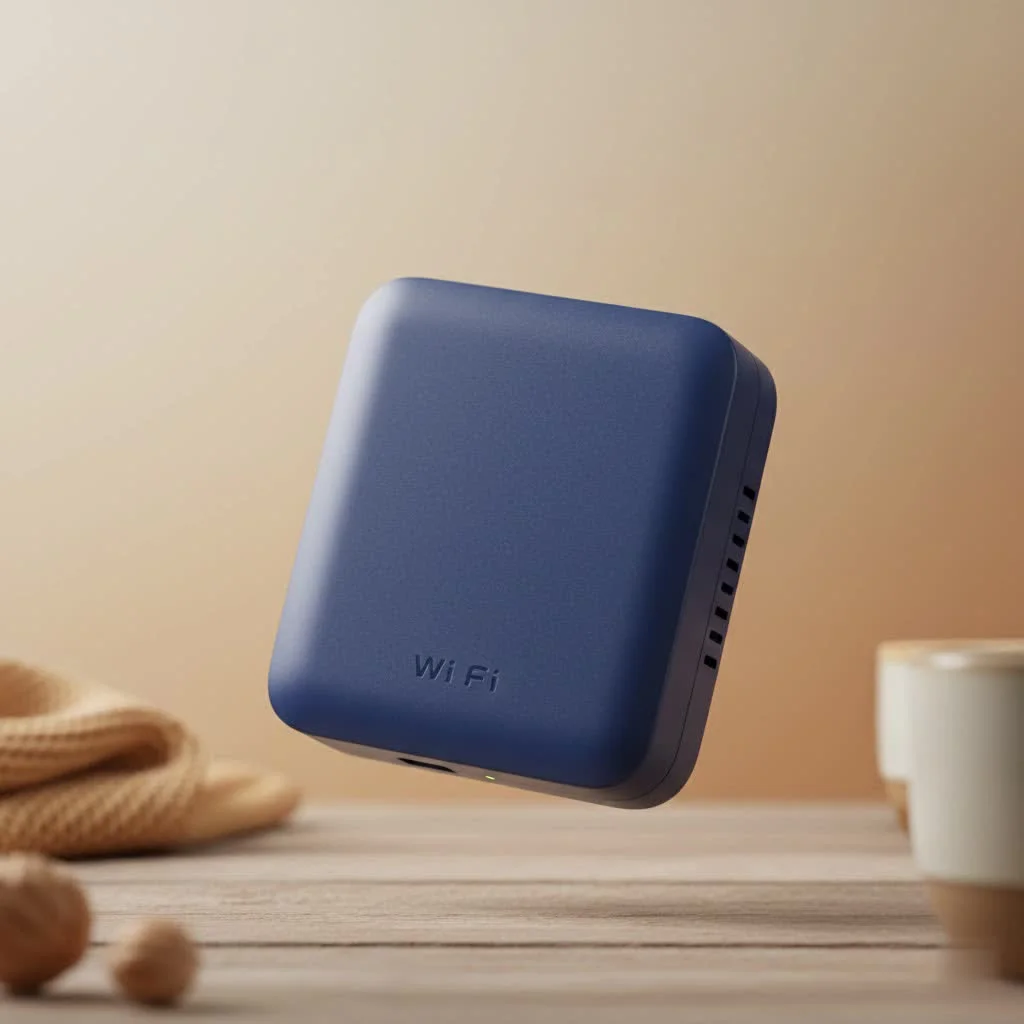
As a network specialist with over 15 years of hands-on experience, I’ve helped countless users bridge these coverage gaps. This guide will walk you through everything you need to know, from choosing the right device to setting it up and optimizing its performance. Let’s turn your spotty Starlink coverage into a powerful, whole-home network. For see our wifi extenders recommendations on this site.
What Exactly is a Wi-Fi Extender?
Before we dive into the specifics of Starlink, let’s clarify what a Wi-Fi extender does. Think of it as a relay runner for your internet signal. A Wi-Fi extender, also known as a repeater, captures the existing Wi-Fi signal from your main router (in this case, your Starlink router). It then rebroadcasts that signal on a new, extended network, pushing it into the far corners of your home where the original signal was weak or non-existent. It’s a simple and effective way to increase your Wi-Fi footprint.
Can You Use a Wi-Fi Extender with Starlink?
This is the most common question, and the answer is a resounding yes. You can absolutely use a Wi-Fi extender with Starlink. The Starlink router, despite its unique satellite source, functions just like any other standard Wi-Fi router inside your home. It creates a local wireless network that can be expanded using standard networking equipment, including Wi-Fi extenders and mesh systems from any reputable brand.
Compatibility is not an issue. Whether you have the original circular dish with the Gen 1 router or the newer rectangular dish with the Gen 2 or Gen 3 router, the principle remains the same. You are simply extending the local Wi-Fi signal it produces.
Extender vs. Mesh System for Starlink: Which is Right for You?
While a Wi-Fi extender is a great tool, it’s important to know its alternative: a mesh Wi-Fi system. Choosing the right one depends on your home’s size, layout, and your performance needs.
-
Wi-Fi Extender:
- Best for: Smaller to medium-sized homes with one or two specific dead zones.
- How it works: Creates a separate, extended network (e.g., “Starlink_EXT”). You may need to manually switch your device to the extender’s network.
- Pros: Cost-effective, simple to install.
- Cons: Can halve the available bandwidth, and the handoff between networks isn’t always seamless.
-
Mesh Wi-Fi System:
- Best for: Larger homes, multi-story houses, or users who want the most seamless and robust coverage.
- How it works: Replaces your existing router with a system of multiple “nodes” that work together to create a single, unified Wi-Fi network. You can move through your house without ever losing connection or switching networks.
- Pros: Provides consistent speed and coverage, seamless roaming, easy to manage via a single app.
- Cons: More expensive than a single extender.
Expert Take: As our lead network engineer at TVCSP, John Carter, often advises, “For most Starlink users just trying to cover a dead-end bedroom or a basement, a quality Wi-Fi extender is the perfect, budget-friendly solution. However, if you’re in a large, complex home and demand flawless performance everywhere, investing in a mesh system that complements Starlink’s speed is the superior long-term strategy.”
How to Set Up Your Wi-Fi Extender for Starlink
Setting up a wifi extender for Starlink is typically a quick process. There are two primary methods: the simple wireless setup or the more stable wired setup using an accessory.
The Wireless Method (WPS or App-Based)
|
Our Picks for the Best Wifi Extender in 2026
As an Amazon Associate I earn from qualifying purchases.
|
||
| Num | Product | Action |
|---|---|---|
| 1 | TP-Link AC1900 WiFi Range Extender RE550 - Dual-Band Wireless Repeater Amplifier w/Gigabit Ethernet Port - Up to 2200 Sq. Ft., 32 Devices - Internet Signal Booster - APP Setup - EasyMesh Compatible |

|
| 2 | 2025 Fastest WiFi Extender, WiFi Repeater, WiFi Booster, Covers Up to 10000 Sq.ft and 80 Devices, Internet Booster - with Ethernet Port, Quick Setup, Home Wireless Signal Booster |
|
| 3 | WiFi Extender, WiFi Extenders Signal Booster for Home Up to 5000 sq.ft and 50 Devices, WiFi Range Extender, Wireless Repeater, Long Range Amplifier with Ethernet Port, 1-Tap Setup, Alexa Compatible |
|
| 4 | 2025 WiFi Extenders Signal Booster for Home Long Range Up to 9800 sq. ft & 40 Devices, WiFi Extender Signal Booster, Quick Setup-Medium, Internet Repeater, WiFi Extender |
|
| 5 | TP-Link AX3000 WiFi 6 Range Extender - PCMag Editor\'s Choice - Dual-Band Wireless Repeater w/Ethernet Port - Up to 2400 Sq. Ft., 64 Devices - Internet Signal Booster - APP Setup - EasyMesh (RE715X) |
|
| 6 | Amazon eero 6 mesh wifi extender with 1-month free eero Plus (auto-renews) - Add up to 1,500 sq. ft. of Wi-Fi 6 coverage to your existing eero mesh wifi network |
|
| 7 | WiFi Extender with 4 Antennas 1200Mbps - Dual Band 5GHz/2.4GHz, WiFi Extender Signal Booster with 3 Modes Support, WiFi Repeater with 12880 Sq.ft 105 Devices, Easy Set Up for Home |
|
| 8 | Amazon eero 6+ mesh wifi system with 1 month free eero Plus (auto-renews) - Coverage up to 4,500 sq. ft., Connect 75+ devices, 3-pack |
|
| 9 | Amazon eero 7 with 1 month free eero Plus (auto-renews) - Supports internet plans up to 2.5 Gbps, Coverage up to 2,000 sq. ft., Connect 120+ devices, 1-pack |
|
| 10 | TP-Link AC1200 WiFi Extender, 2023 Engadget Best Budget Pick, 1.2Gbps Signal Booster for Home, Dual Band 5GHz/2.4GHz, Covers Up to 1500 Sq.ft and 30 Devices,Support Onemesh, One Ethernet Port (RE315) |
|
This is the most common and easiest way to get started.
- Position and Power On: Plug your Wi-Fi extender into a power outlet roughly halfway between your Starlink router and the area with poor Wi-Fi. A good signal is crucial for the extender to work effectively.
- Connect Using WPS (Wi-Fi Protected Setup): This is the simplest option. Press the WPS button on your Starlink router. Within two minutes, press the WPS button on your Wi-Fi extender. The lights on the extender should indicate a successful connection.
- Connect Using a Web Browser or App: If WPS doesn’t work or isn’t available, use your phone or laptop to connect to the extender’s default Wi-Fi network (e.g., “TP-Link_Extender”). Open a web browser or the manufacturer’s app and follow the on-screen instructions to select your Starlink Wi-Fi network and enter its password.
- Relocate for Optimal Performance: Once configured, use the indicator lights on your extender to find the best spot. You want it far enough from the router to extend the range but close enough to receive a strong, stable signal to rebroadcast.
The Wired Method (Requires the Starlink Ethernet Adapter)
For the best possible performance, you can use a wired connection to your extender. This method turns the extender into an Access Point (AP), which eliminates the bandwidth loss associated with wireless repeating. Note: This requires the Starlink Ethernet Adapter for the Gen 2 rectangular dish, as it does not have a built-in Ethernet port.
- Install the Ethernet Adapter: Connect the Starlink Ethernet Adapter between your dish cable and your router.
- Connect the Extender: Run an Ethernet cable from the adapter to the Ethernet port on your Wi-Fi extender.
- Configure Access Point (AP) Mode: Log into your extender’s settings via its app or a web browser. Find the operational mode settings and switch it from “Extender” or “Repeater” to “Access Point Mode.”
- Set Network Name: In AP Mode, you can typically set the Wi-Fi name (SSID) and password to be the exact same as your main Starlink network for more seamless roaming.
Best Wi-Fi Extenders for Starlink in 2025
While most modern extenders work well, here are some top choices known for their performance and compatibility:
| Model Category | Recommended Model (Example) | Key Features |
|---|---|---|
| Best Overall | TP-Link AX1800 (RE605X) | Wi-Fi 6 for faster speeds, Access Point mode, easy setup via Tether app. |
| Best for Gaming | Netgear Nighthawk AX1800 (EAX20) | Wi-Fi 6, low latency performance, strong signal penetration. |
| Best Budget | TP-Link AC750 (RE220) | Dual-band support, compact plug-in design, great value for basic needs. |
Frequently Asked Questions (FAQ)
Will a Wi-Fi extender slow down my Starlink speed?
A standard wireless extender can reduce the available bandwidth by up to 50% because it uses the same radio to both receive and transmit the signal. However, for most activities like browsing and streaming, this is often unnoticeable. Using an extender in Access Point mode with a wired connection eliminates this speed loss.
Do I need the Starlink Ethernet Adapter to use an extender?
No, you do not need the adapter for a standard wireless setup. You only need the Starlink Ethernet Adapter if you want to connect your extender with an Ethernet cable to use it in the more efficient Access Point mode.
How far can a Wi-Fi extender boost the Starlink signal?
This depends heavily on the model of the extender and the layout of your home. A typical extender can add anywhere from 500 to 1,500 square feet of coverage. Walls, floors, and other electronic devices can reduce this range.
Can I use a different brand of extender with Starlink?
Yes. Starlink is brand-agnostic when it comes to extenders. You can use any modern Wi-Fi extender from brands like TP-Link, Netgear, Linksys, or others with your Starlink router.
Is it hard to install a wifi extender for starlink?
No, it’s generally very easy. Most modern extenders are designed for plug-and-play setup, often taking less than five minutes using the WPS button or a simple smartphone app.
Conclusion: Get the Coverage You Deserve
Starlink provides incredible internet speeds, and you shouldn’t have to be tethered to a single room to enjoy it. By installing a wifi extender for Starlink, you can easily and affordably banish dead zones and create a reliable, whole-home network. Whether you choose a simple plug-in extender for a quick fix or opt for a wired Access Point for maximum performance, you now have the knowledge to make the right choice. Take back your home’s connectivity and enjoy your Starlink internet from every corner.
Get our weekly buyer guide
Practical specs, not advice. Unsubscribe anytime.