A Starlink WiFi extender can effectively eliminate dead zones and extend your Starlink internet coverage throughout your home, especially when paired with the essential Starlink Ethernet Adapter. This guide provides a comprehensive overview of selecting, setting up, and optimizing a third-party WiFi extender to ensure seamless connectivity across your entire property.
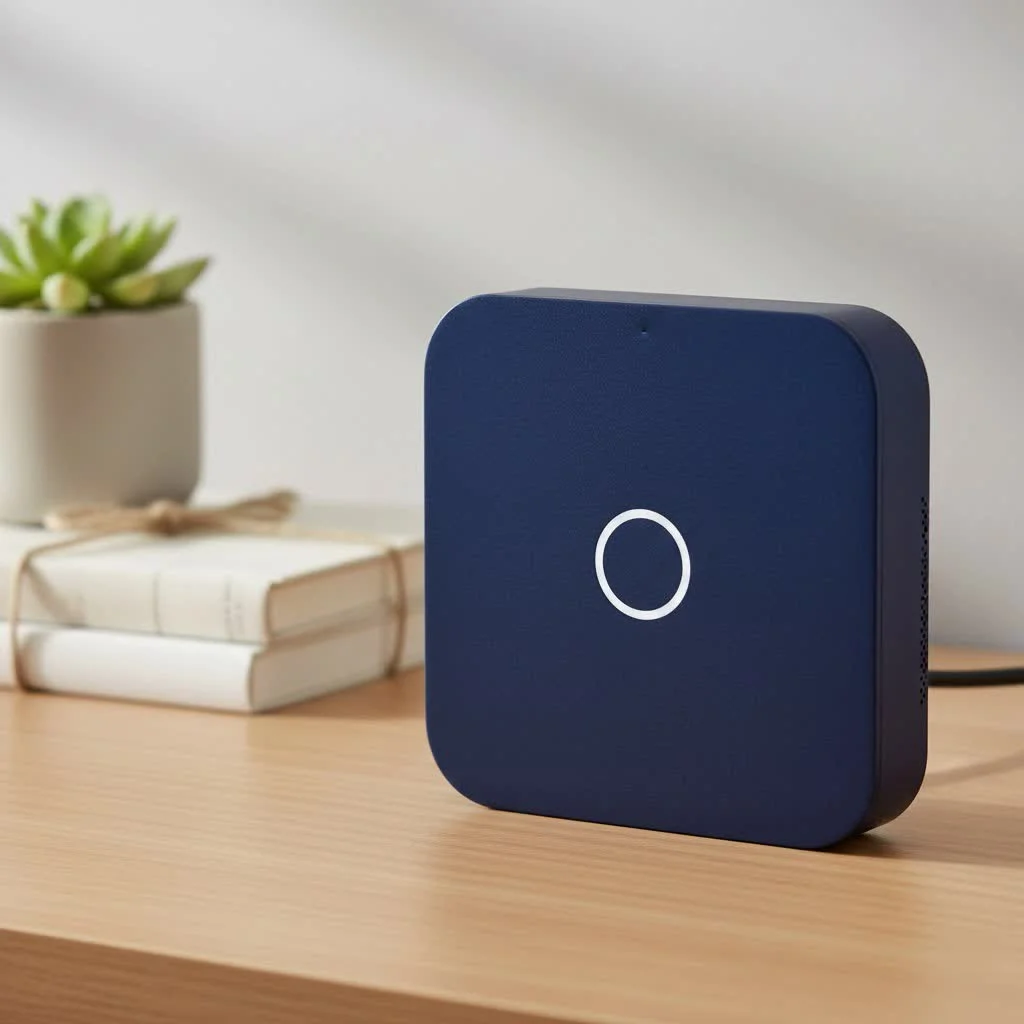 WiFi extender setup with Ethernet adapter” style=”margin: 20px auto;width: 800px;max-width: 100%;height: auto” />
As a network professional with over 15 years of hands-on experience at TVCSP, I’ve seen countless homeowners struggle with this exact issue. Let’s break down how to fix it for good.
What is a WiFi Extender and How Does It Work?
A WiFi extender, also known as a repeater, is a simple yet effective device designed to solve a single problem: poor WiFi coverage. Think of it as a relay station for your internet signal.
It works by capturing the existing WiFi signal from your Starlink router, amplifying it, and then rebroadcasting the boosted signal to areas where the original signal was weak or non-existent. This extends the reach of your network, allowing you to connect devices in previously unreachable spots like a back bedroom, a basement office, or even the garage.
For Starlink users, this means you can take that powerful satellite connection and spread it evenly throughout your property without being tethered to the location of your primary router.
Before You Buy: Starlink Mesh vs. WiFi Extender
Before you purchase a third-party extender, it’s crucial to understand Starlink’s own solution: Mesh WiFi Nodes. While they both aim to improve coverage, they work differently, and choosing the right one depends on your specific needs.
What is Starlink Mesh?
Starlink offers its own Mesh WiFi Nodes that are designed to integrate seamlessly with your Starlink router. Instead of just repeating a signal, mesh nodes work together to create a single, unified network. As you move through your home, your device automatically connects to the strongest node without dropping the connection. It’s a more intelligent and cohesive system.
Key Differences: When to Choose Which
- Choose a Starlink Mesh system if: You have a large home with multiple floors and want the most seamless, integrated experience. It’s the “set it and forget it” option designed specifically for the Starlink ecosystem.
- Choose a third-party WiFi extender if: You have a smaller, specific dead zone to cover, are on a tighter budget, or already own an extender. It’s a more targeted and often cheaper solution.
Expert Take by David Chen, Senior Network Architect: “For the average user with one or two dead spots, a quality WiFi extender is a perfectly viable and cost-effective solution for Starlink. However, for large, multi-story homes or properties with challenging layouts, the investment in a proper mesh system, whether from Starlink or a third party, will provide a far more stable and seamless user experience.”
How to Set Up a Starlink WiFi Extender
Setting up a third-party Starlink WiFi extender is straightforward, but it requires one crucial component that many people overlook: the Starlink Ethernet Adapter.
The standard Starlink router does not have any Ethernet ports. The adapter, available from Starlink’s shop, is essential for physically connecting your extender (or any other wired device) to the network.
Here is a step-by-step guide to get you up and running:
- Purchase the Starlink Ethernet Adapter: You cannot proceed without this. Order it directly from the Starlink website to ensure compatibility.
- Connect the Adapter: The adapter fits between the Starlink router and its power source. Unplug the main cable from your router, plug that cable into the adapter, and then plug the adapter’s cable into the router.
- Position Your WiFi Extender: Place the extender in a location that is roughly halfway between your Starlink router and the WiFi dead zone. It needs to be close enough to the router to receive a strong, stable signal to repeat.
- Connect the Extender to Power: Plug the WiFi extender into a wall outlet.
- Connect the Extender to the Router: Plug an Ethernet cable into the Starlink Ethernet Adapter and connect the other end to the Ethernet port on your WiFi extender. This initial wired connection is often the most reliable way to configure it.
- Configure the Extender: Most modern extenders can be configured via a simple web browser interface or a mobile app. Follow the manufacturer’s instructions. You will typically need to:
- Connect to the extender’s temporary WiFi network.
- Open a web browser and navigate to the setup URL provided (e.g.,
mywifiext.net). - Follow the on-screen wizard to select your main Starlink WiFi network and enter its password.
- Create a network name (SSID) for the extended network. It’s often best to give it the same name as your main network for seamless roaming.
- Test the Connection: Once configured, you can unplug the Ethernet cable. Move to your previous dead zone and connect to the newly extended network. You should now have a strong signal.
Tips for Optimizing Performance
Simply plugging in a Starlink WiFi extender isn’t always enough. To get the best possible speeds and reliability, follow these pro tips:
- Placement is Everything: The “halfway” rule is a great starting point. Avoid placing the extender in the actual dead zone. It needs a good signal to extend a good signal.
- Avoid Obstructions: Keep the extender away from thick walls, metal objects, and appliances like microwaves, which can interfere with the WiFi signal.
- Update Your Firmware: Regularly check for and install firmware updates for both your Starlink router and your WiFi extender. These updates often include performance improvements and security patches.
- Use WiFi 6: If you’re buying a new extender, choose a model that supports WiFi 6 (802.11ax). This will provide better speeds and efficiency, especially in homes with many connected devices.
Frequently Asked Questions (FAQ)
Can I use any WiFi extender with Starlink?
|
Our Picks for the Best Wifi Extender in 2026
As an Amazon Associate I earn from qualifying purchases.
|
||
| Num | Product | Action |
|---|---|---|
| 1 | WiFi Extender, WiFi Extenders Signal Booster for Home Up to 5000 sq.ft and 50 Devices, WiFi Range Extender, Wireless Repeater, Long Range Amplifier with Ethernet Port, 1-Tap Setup, Alexa Compatible |

|
| 2 | TP-Link AC1900 WiFi Range Extender RE550 - Dual-Band Wireless Repeater Amplifier w/Gigabit Ethernet Port - Up to 2200 Sq. Ft., 32 Devices - Internet Signal Booster - APP Setup - EasyMesh Compatible |
|
| 3 | 2025 Fastest WiFi Extender, WiFi Repeater, WiFi Booster, Covers Up to 10000 Sq.ft and 80 Devices, Internet Booster - with Ethernet Port, Quick Setup, Home Wireless Signal Booster |
|
| 4 | WiFi Extender with 4 Antennas 1200Mbps - Dual Band 5GHz/2.4GHz, WiFi Extender Signal Booster with 3 Modes Support, WiFi Repeater with 12880 Sq.ft 105 Devices, Easy Set Up for Home |
|
| 5 | Amazon eero 6+ mesh wifi system with 1 month free eero Plus (auto-renews) - Coverage up to 4,500 sq. ft., Connect 75+ devices, 3-pack |
|
| 6 | Amazon eero 6 mesh wifi extender with 1-month free eero Plus (auto-renews) - Add up to 1,500 sq. ft. of Wi-Fi 6 coverage to your existing eero mesh wifi network |
|
| 7 | TP-Link AC1200 WiFi Extender, 2023 Engadget Best Budget Pick, 1.2Gbps Signal Booster for Home, Dual Band 5GHz/2.4GHz, Covers Up to 1500 Sq.ft and 30 Devices,Support Onemesh, One Ethernet Port (RE315) |
|
| 8 | 2025 WiFi Extenders Signal Booster for Home Long Range Up to 9800 sq. ft & 40 Devices, WiFi Extender Signal Booster, Quick Setup-Medium, Internet Repeater, WiFi Extender |
|
| 9 | TP-Link AX3000 WiFi 6 Range Extender - PCMag Editor\'s Choice - Dual-Band Wireless Repeater w/Ethernet Port - Up to 2400 Sq. Ft., 64 Devices - Internet Signal Booster - APP Setup - EasyMesh (RE715X) |
|
| 10 | Amazon eero 7 with 1 month free eero Plus (auto-renews) - Supports internet plans up to 2.5 Gbps, Coverage up to 2,000 sq. ft., Connect 120+ devices, 1-pack |
|
Yes, as long as you have the Starlink Ethernet Adapter. Any modern WiFi extender from reputable brands like TP-Link, Netgear, or Linksys will be compatible with the Starlink system once connected via the adapter.
Do I absolutely need an Ethernet adapter for a Starlink extender?
Yes. For a third-party extender, the Starlink Ethernet Adapter is non-negotiable. The Starlink router has no built-in Ethernet ports, making the adapter the only way to establish the necessary connection for setup and operation.
Will a WiFi extender slow down my Starlink internet?
Technically, yes. All WiFi extenders introduce some latency and reduce maximum throughput because they have to receive and then retransmit the signal. However, in a dead zone where you had one bar of signal or less, the stable, usable connection from an extender will feel significantly faster than the previous unreliable one.
Is a mesh system better than an extender for Starlink?
“Better” depends on your needs. A mesh system offers more seamless, whole-home coverage and is generally a more robust solution for large areas. An extender is a simpler, cheaper fix for smaller, specific dead zones.
How do I know where to place my Starlink extender?
Use a WiFi analyzer app on your smartphone. Walk away from your Starlink router and watch the signal strength (measured in dBm). Find a spot where the signal is still strong (ideally around -60dBm to -70dBm) but is also close enough to cover the dead zone. This is the sweet spot for your extender.
Conclusion
A Starlink WiFi extender is an excellent and affordable tool to eliminate frustrating WiFi dead zones and get the most out of your satellite internet service. While Starlink’s own Mesh Nodes offer a more integrated experience, a quality third-party extender provides a powerful and flexible solution for most homes. By purchasing the essential Starlink Ethernet Adapter and following the proper setup and placement guidelines, you can ensure that every corner of your home enjoys the fast, reliable internet you signed up for. Don’t let weak signals hold you back; extend your network and enjoy a truly connected home.
Frequently Asked Questions
Can I use any WiFi extender with my Starlink system?
Yes, you can use any modern WiFi extender with Starlink, provided you have the Starlink Ethernet Adapter. Reputable brands like TP-Link, Netgear, or Linksys are compatible once connected via the adapter.
Is the Starlink Ethernet Adapter required for a third-party extender?
Yes, the Starlink Ethernet Adapter is absolutely necessary for connecting a third-party WiFi extender. The standard Starlink router lacks built-in Ethernet ports, making the adapter the only way to establish a wired connection for setup and operation.
Will a WiFi extender negatively impact my Starlink internet speed?
WiFi extenders can introduce some latency and slightly reduce maximum throughput because they retransmit the signal. However, in areas with weak or no signal, a stable connection from an extender will provide a significantly faster and more reliable experience than the previous unreliable one.
Should I choose a Starlink mesh system or a WiFi extender?
The choice depends on your specific needs. A mesh system offers more seamless, whole-home coverage and is generally more robust for large areas or multi-story homes. A WiFi extender is a simpler, more cost-effective solution for smaller, specific dead zones.
What is the best placement for a Starlink WiFi extender?
The ideal placement for your Starlink WiFi extender is roughly halfway between your Starlink router and the WiFi dead zone. Use a WiFi analyzer app to find a spot where the signal strength is still strong, ideally between -60dBm to -70dBm, to ensure effective signal repetition.
Set Up a Starlink WiFi Extender
This guide outlines the steps to successfully set up a third-party WiFi extender with your Starlink system, emphasizing the crucial role of the Starlink Ethernet Adapter.
The Starlink Ethernet Adapter is essential for connecting any third-party WiFi extender. Order it directly from the Starlink website to ensure compatibility and avoid setup issues.
Integrate the adapter between your Starlink router and its power source. Unplug the main cable from your router, connect it to the adapter, and then plug the adapter's cable into the router.
Place the extender approximately halfway between your Starlink router and the area with weak WiFi. It must receive a strong, stable signal from the router to effectively extend coverage.
Plug the extender into power and connect it to the Starlink Ethernet Adapter using an Ethernet cable. Follow the manufacturer's instructions, typically using a web browser or mobile app, to select your Starlink network and create an extended network name.
Once configured, you can unplug the Ethernet cable from the extender. Move to your previous dead zone and connect your devices to the newly extended WiFi network to verify a strong signal.
Get our weekly buyer guide
Practical specs, not advice. Unsubscribe anytime.
I was really struggling with dead zones in my house, especially in the back office where I work. After reading about the Starlink Ethernet Adapter and how it pairs with an extender, I decided to give it a try. Setup was surprisingly easy, and now I have full bars everywhere. It’s made a huge difference for my video calls!
I got a third-party extender as suggested, and while it did improve the signal in my garage, it wasn’t as seamless as I hoped. I still get occasional drops when I’m streaming music out there. Maybe I need to adjust the placement more, but it’s not a perfect fix for my specific issue.
My Starlink internet was great, but the signal just wouldn’t reach my kids’ bedrooms upstairs. This guide’s focus on optimizing a third-party WiFi extender was exactly what I needed. I followed the setup tips, and now they can game and do homework without any complaints about slow WiFi. Highly recommend this approach!
This guide was super helpful in understanding how a WiFi extender actually works as a ‘relay station.’ I’ve always just bought whatever was on sale, but learning about the signal amplification made me choose a better model. My Starlink coverage is much more consistent now, even out on the patio.